Vegan Cashew Mozzarella Recipe – Step 3 To Homemade Vegan Pizza 

Most vegan cheese I see looks completely unappealing. My husband and I have tried a few that we found lacking and passed by others that looked like flavored cardboard. A friend who lives next to me has given suggestions on decent homemade versions if we wanted to try more but after our other experiences we never got around to it. I kept seeing a cashew mozzarella via people I follow on Instagram that looked worthy of trying however so that’s what I finally chose to go with today.  

You will need: 

*1 cup hot water 

*1/2 cup raw cashews 

*2 1/2 tbsp tapioca flour

*1 tsp nutritional yeast (at least. I tend to add more to everything)

*1 tsp salt

*1 tsp lemon juice 

Soak the raw cashews in warm water for at least an hour to help them soften. 

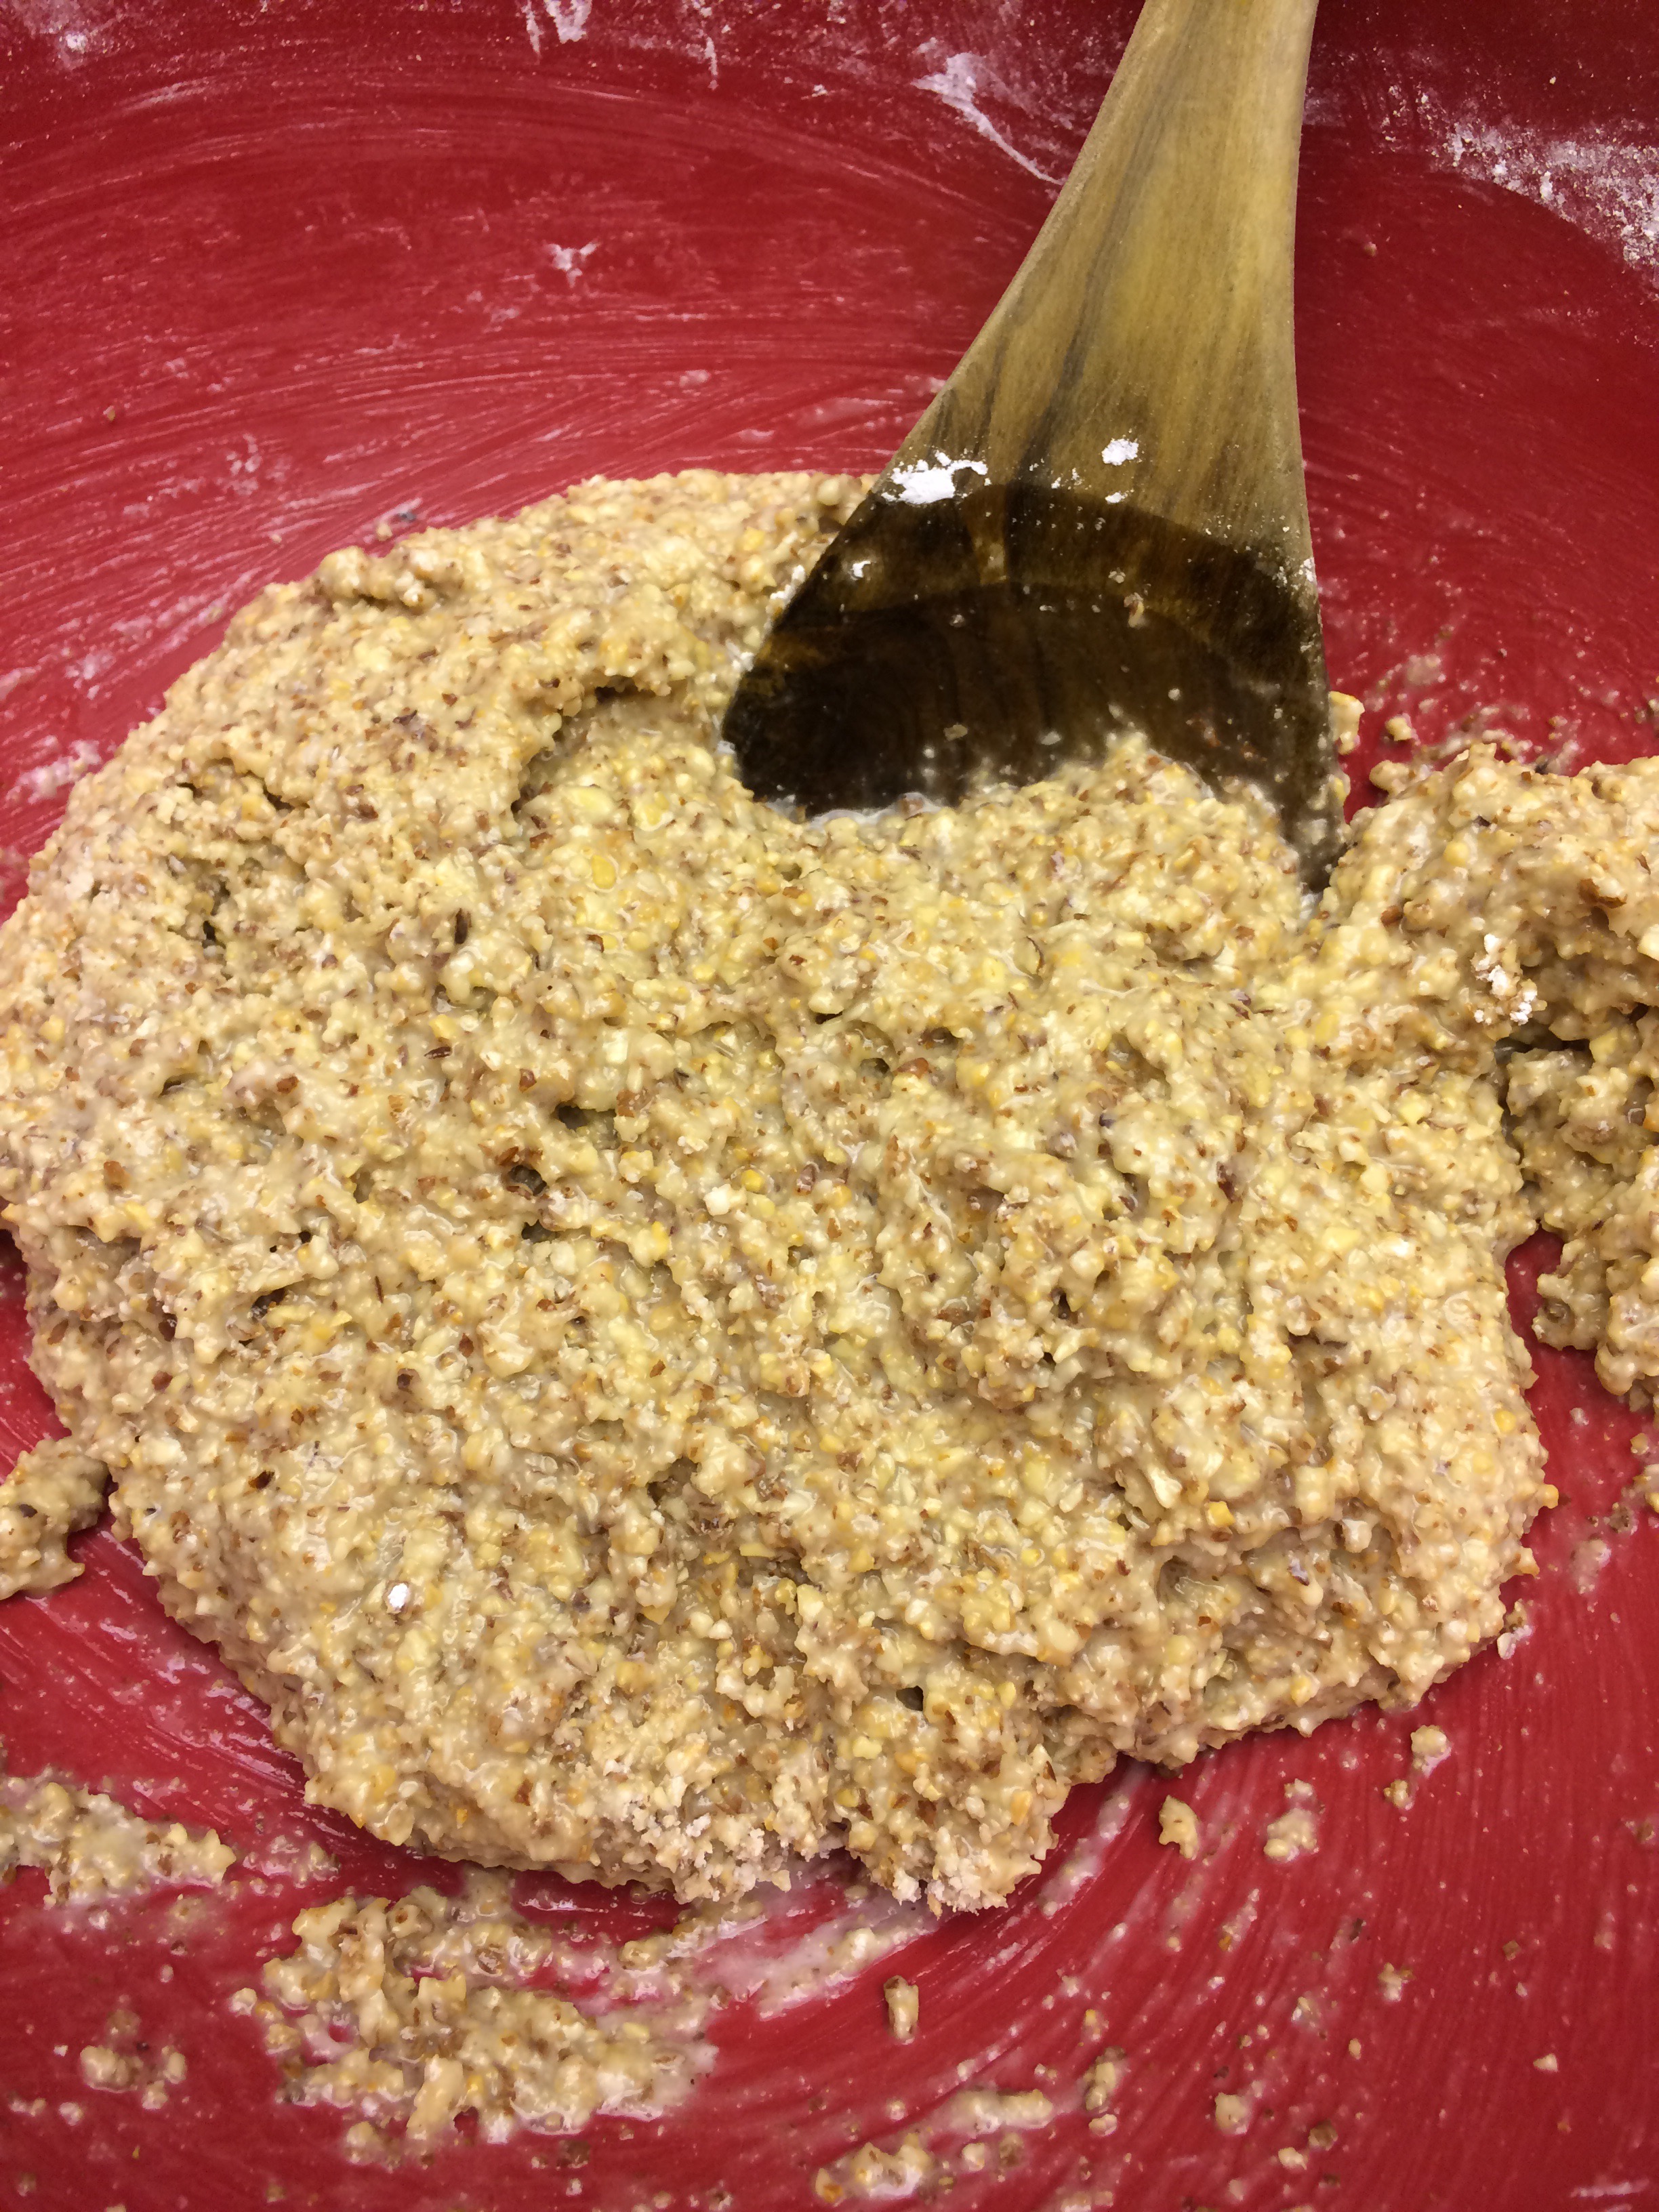
Strain cashews and add to a blender along with the other ingredients. This includes the hot water. The previous water was extra. 

Blend well for a minute or two.

Add to a saucepan and cook over medium heat while stirring constantly. 

Soon, the consistency will become thick and mozzarella-like. Turn off heat and let cool slightly before adding to your pizza. 

Finish your pizza recipe normally at this point! 

I lightly sautéed Kalamata olives, mini crimini mushrooms and broccoli in coconut oil with garlic to add to my pizza.

If you were following my other recipes for this 3 “step” pizza you would take the dough out of the oven, sauce, add the toppings then the cheese before placing back into the oven at 375 F for 10-20 minutes depending on the thickness of your crust. Enjoy! 

Vegan Pizza Dough Recipe 

I posted first about my vegan tomato sauce recipe (most are vegan but the point was in making a vegan pizza to try). You can find the recipe here: https://theheathenhomesteader.wordpress.com/2016/05/16/roma-tomato-pizza-sauce-recipe/

This is the second step in making my very first homemade vegan pizza. Making the dough! It takes roughly around the same time as the sauce so I began the sauce first. Normally, I would have added sourdough starter to my crust but I wanted a recipe that would be more easily replicated by most people. I rarely see sourdough starters at others houses so I chose the dry yeast route. This recipe supposedly makes two crusts but I decided any leftover after creating the crust I wanted could be used the next day to make breadsticks. I might have tossed that idea out of the window and accidental made the fluffier pizza! It’s huge! If you want a thinner pizza split the dough into two pizzas. 

You will need: 

*4 cups unbleached all purpose flour

*2 cups warm water (not hot. it’s for the yeast)

*2 tbs dry active yeast

*1/2 tsp salt  

Mix warm water and yeast for several minutes until fully dissolved. Let sit 5-10 to expand and froth up.

Mix flour and salt in large bowl. 

Make a well in the center of the flour and add yeast mixture. 

Mix well! The blend will be sticky but you will be kneading it with a bit more flour.

Flour a clean surface with a out 2 tablespoons of flour and knead dough well until it no longer sticks to your hands.

Form into a ball and add to a greased bowl. I tend to just flour or grease the same bowl I mixed in to avoid more dishes. Cover and let sit for 45 minutes. 

Uncover and punch down. 

Knead well on a floured surface again. About 2 tablespoons is a good amount. 

At this point you can rip the dough in two for two crusts or see how much dough you would want to use depending on the thickness of the crust you prefer. 

Roll into a ball before using a rolling pin to roll out into a pizza shape. This is my least favorite part as I tend to not roll circles very well. 

I wanted thick crust (it was thicker than expected in the end!) so I rolled out wider than my pan (be sure to grease it first) then used my fingers to roll the dough back in slightly to make a mound. 

I mixed salt, garlic, parsley and oil together and brushed the crust before baking. 

Bake at 375 degrees F for about 10-15 minutes or until golden brown before adding your sauce toppings! 

Roma Tomato Pizza Sauce Recipe

I have had vegan pizza on my list to try making for quite some time now. I had been putting it off due to it being somewhat labor intensive as I planned to make every aspect from scratch. Recently, I started gathering ingredients and found the push to try it sooner than anticipated through a Facebook post on a friends vegan pizza. Pregnancy has made food not very desirable but this pizza was simple enough in flavor that I could enjoy it without becoming sick. 

The first step was making the sauce. I am not the biggest fan of tomatoes (I actually really dislike them in most cases unless super processed and cooked down). I didn’t want to use canned ingredients due to flavor issues I have encountered before so I started with fresh tomatoes.

We didn’t want much sauce so I took a recipe and cut it in half as well as adding more herbs and spices. Feel free to double it for more sauce. 

You will need:

*5 fresh Roma tomatoes

*1/2 cup of water

*2 tbs sugar (white is in the recipe)

*1 tbs oil (I used sunflower but olive is more traditional)

*1/2 tbs white vinegar 

*spices. I used salt, pepper, parsley, basil, garlic, smoked paprika and turmeric to taste. I used frozen cubes of garlic from Trader Joe’s as working with onions and garlic is currently difficult for me. I used mostly dried ingredients.

Rinse off your tomatoes then proceed to roughly chop them up. 

Add to a blender or food processor and throw in spices before blending well.

I added my water, vinegar, oil and sugar in the blender afterwards to mix well but they can be added to the pot in the next step. 

Add to a pot and bring to a boil. 

Turn down heat to simmer. Stir occasionally for 1-2 hours until desired flavor and consistency is reached.

Blend again to smooth out the mixture. If you have doubled the recipe you may need to do this in batches. Especially, if the contents are hot/warm. 

Then it is ready to use! 

Naturally Protein Rich Smoothies – Protein Powder Alternative 

Recently, I have been working out more using weights like a steel rod for strengthening my hands and wrists, weights strapped to my ankles while walking and two different kettlebells. Even my toddler has her own 1lbs dumbbell so she can work out with me and her dad when he’s home. It’s adorable! Before this my main form of exercising was walking 5-10 miles a day, yoga (with a toddler thinking it’s fun to climb on me and fluff up my hair) and some arm movements my husband uses that he was taught in boot camp over 10 years ago and still uses today. A friend is helping me with plus size and pregnancy friendly/safe kettlebell routines and was talking to me about protein shakes. My husband offered to share his but the smell of his boat that permeated the shakes was too much for me with my recently heightened senses. To make sure I’m getting what I need until our recently ordered powders come in the mail I have upped our protein intake in our food.  

We already eat a really good amount of protein rich foods. Mostly, just because we like these foods but also because we rarely eat meat. There is more protein in many plant based foods than meat but we watch what we consume just to make sure we’re getting what we need anyway. I have been craving fruit smoothies since the weather warned up. So I decided to see what protein rich ingredients we had that I could use in a post workout naturally protein rich smoothie. What I am sharing is just some suggestions on making a protein shake alternative. There are actual charts to show you what amount of ingredients you should (or could) use as well as lists of food that one could use as well. I’m working with what I have. Protein powders tend to have much more protein than what this may have but it’s great for those with food sensitivities, those who eat more naturally, those who need to work with what they already have, etc. I also share with my toddler because it’s just plain tasty and she loves it. I have even made homemade Popsicles with the mixture. 

Fruit: I have a container of frozen fruit I used in water kefir fermentation. They are slightly more tangy and have underwent a bit of fermentation while the liquid ate through some of the sugars in the fruit. While they may not be super fermented I’m hopeful some of the benefits of fermented goodness are in them. I also had fresh bananas that I precut and froze so I don’t need to use ice in my smoothie. The fruits in my smoothie include bananas, dark cherries, blackberries, strawberries, peaches, raspberries and blackberries. Most of which are on the leaderboard for protein rich fruits. 

Nuts and seeds: Nuts are a great source of protein in many cases. We have a ton of different nuts/seeds for baking and cooking so I have a lot to choose from. I ended up soaking raw cashews overnight (makes them easier to blend) then added freshly ground flaxseed, chia seeds and raw pine nuts. Adding nut butters is an easy way to add in certain ingredients. I am out of all our homemade butters except commercial peanut butter so I went with plain seeds and nuts instead. Be aware of salt in nut butters as they can effect the flavor of the smoothie. I sometimes put my nuts in liquid to blend before adding the fruit. Then I blend them again with the added ingredients. 

Liquid: I plan on using fruit infused water kefir in some smoothies and homemade nut milks in others. Other options include: dairy based kefir (yogurt drink), coconut water and REAL juice. Adding juice may be a bit much for sugar but working with what you have is an option I know all too well. 

Other ingredients: Some other ingredients you can use are Greek yogurt, honey, silken tofu, oats and more. Some more for texture and flavoring than anything else. Many people won’t eat or drink something that doesn’t taste at least decent so experiment with flavors! I didn’t add any of these this time around. 

Here is my smoothie: blueberries, blackberries, raspberries, peaches, banana, dark cherries, the last of our chia seeds, raw cashews, pine nuts, ground flaxseed, dark cherry water kefir and homemade almond milk. 

I have nothing against protein shakes but for now this not only has protein but also fiber, vitamins, probiotic goodness and is generally healthy. 

Mother’s Day Weekend

This weekend was a special one for us. Before we had our daughter we didn’t go all out for most holidays or even celebrate them all (meaning most holidays celebrated by the majority of Americans). Our truly special days that were of upmost importance were days that meant something to us. They still are. The day we met and fell in love, the day we officially started dating, the days (we may have done it a few times in different spiritual ways) we got engaged, the day we conceived our first child, etc. You get the point. Those are our real “holy-days” other than some purely spiritually based days of the year and a few conventional holidays. 

This weekend was both the anniversary of our official dating date (we celebrate everything it feels like!) on Saturday and Mother’s Day on Sunday (it’s still Sunday in our part of the world but it may be past midnight where you are). We’re not big into Mother’s Day but both years I have been a mother my husband has bought me roses and we have gone on a nature walk at least. This Mother’s Day I was excited to use a coupon for a discount on buying some makeup that also got me a free gift at a beauty store. I rarely buy myself anything except for craft supplies but I can’t pass up on saving the amount I did when getting items I already “needed.” Makeup is a great personal pick me up. I used to wear it daily but have almost stopped completely since I left my job to be a stay at home mom. Other than that my husband bought us a rare “bad food” treat for lunch, we caught up on a few shows, I had an uninterrupted nap alone (crazy right?) and we went for a nature walk as a family. A nice and simple way to spend our first entire day together as a family in almost two months. 

Saturday my husband had to work at night but the day was really special. We woke up and shared the news of my pregnancy with everyone (our parents and a few close friends already knew). I took some quick photos of our toddler the day before and put this together kind of last minute. 

Her necklace is actually a Thor’s Hammer teether from “Helles Teeth” on a cord. Her garb is a pillowcase and a quickly crocheted belt. For not spending a dime and less than an hour of time I think it turned out decently! 

After we shared our joy I started on food. The night before I had baked my first homemade Kransekake (Norwegian Wreath Cake) based off the one we had at our handfasting. We may have eaten that for an indulgent breakfast.

I also made homemade pretzel rolls for our Saturday lunch. I ended up making so much food we skipped the rolls. I made buttery spaetzle with champignon sauce, roasted asparagus and local-ish wild salmon with a German dill fish sauce. 

Shortly after that my husband left for work and my toddler and I went to play with friends at the park.
I may not have gotten everything done that I set out to accomplish but it was a fulfilling and loving weekend that I won’t soon forget. 

We feel so blessed by the gods and our ancestors with the growth of our family and can’t wait to see what the future has in store for us. 

Kransekake – Norwegian Wreath Cake Recipe 

I wanted to share this recipe tomorrow but I have a somewhat “more important” blog to post then! 

3 years ago tomorrow my now husband and I started officially dating. We already knew our future was set with each other and we have based the timing of many life events off of this day and others (like the day we met and fell in love immediately). I wanted to celebrate with the cake we had at our handfasting. Kransekake or “wreath cake.” It’s Norwegian in origin and made during the Winter holidays, weddings and for other special events. It is also referred to as a “Viking cake” although I don’t think it is that old. It’s typically decorated with icing and miniature Norwegian flags. I didn’t want to spoil the surprise so I searched and searched for a recipe that I could make from what I have. I have found recipes using almond paste, almond flour, all purpose flour with almond extract, etc. I have been saving and toasting almonds I have used from making almond milk for the purpose of making this cake so I wanted to use them up. This is an altered recipe and one that may not be entirely traditional but is fairly easy to create and I’m using easy to obtain ingredients. In the future I would love to make and share recipes for other variations. 

You can make this cake free form or purchase the cake forms (pans) online and in specialty shops.  

This particular recipe was supposed to be for a much shorter cake for my tiny family and last us a two days at least. It’s not nearly as small as I was aiming for so we may freeze some to save. Add one more egg white and 2 oz each for the cake ingredients to get the full sized cake (yes, it can be bigger!).

You will need:
*16 oz almonds (when blended). Mine are toasted and crushed from making almond milk so they are a little easier to break down. I used a few ounces extra to process down until I got 18 ounces. Raw almonds work well too. 
*16 oz powdered sugar 
*3 egg whites 

For the icing you will need: 
*1 1/2 cups powdered sugar 
*3 tbsp almond milk (mine is vanilla)

OR

*1 tbsp almond extra and 2 tbs milk of choice

*optional spritz of lemon juice

You can start by blanching raw almonds to remove the skins but I don’t like any waste so I use everything. 

Use a blender or food processor to grind the almonds down as fine as possible. You want to end up with 16 ounces for this size. This handy jar has measurements on it so I use that. 

Mix well with 16 ounces of powdered sugar. 

Add in three egg whites (I used the yolks to glaze bread so they wouldn’t go to waste) and mix well for several minutes. 

Cover and refrigerate overnight or freeze for about 4 hours. I froze mine as I needed to get the cake done yesterday. It makes the mixture easier to work with. 

Preheat the oven to 350 degrees Fahrenheit when you’re ready to start baking. 

When you’re ready to shape the dough you can either jump right in or grease your forms first if you are using them. Some recipes say dusting the forms with flour or a roughly ground wheat after helps the dough release better later. See what works best for you. 

Take the dough and roll with your hands into ropes. The thickness is up to you if your free forming. Be sure when shaping the ropes into circles that they will stack well and not fall into each other if free forming. If you’re using a form use them to help you measure your pieces. Do NOT press the dough it. Drape into the forms. I made mine a little thick on some of them and they stuck together when baking. 

Place on a baking sheet and bake for 10-15 minutes. Each size will have a different time so keep checking. They should be golden in color. 

Let cool several minutes before removing from the forms and then letting cool while you make the frosting. You may need to use a butter knife to loosen the pieces. 

The frosting is pretty simple and can be made in different ways. I used vanilla almond milk in mine as I am out of almond extract. It can “goop up” quickly so mix to your desired consistency after adding the ingredients together and add to a ziplock bag or a piping bag. We don’t ever make pretty baked things so all I had was a ziploc bag and a pair of scissors to cut an escape route for the frosting in the corner.

I’m no artist so I ran the frosting over each tier then plopped on the next tier before adding the remaining frosting. Not the most beautiful cake but delicious! My toddler and I sampled the leftover dough blob.

I was surprised how easy this cake was to make. We paid a pretty penny for ours and ended up getting two to make sure everyone got some (we even bought an amazing Swedish Princess Cake). They were amazing and I’m glad we did it though! The cake was great even a week later (we had some left). It was stale but softened beautifully in a cup of coffee. So delicious! 
From our handfasting: